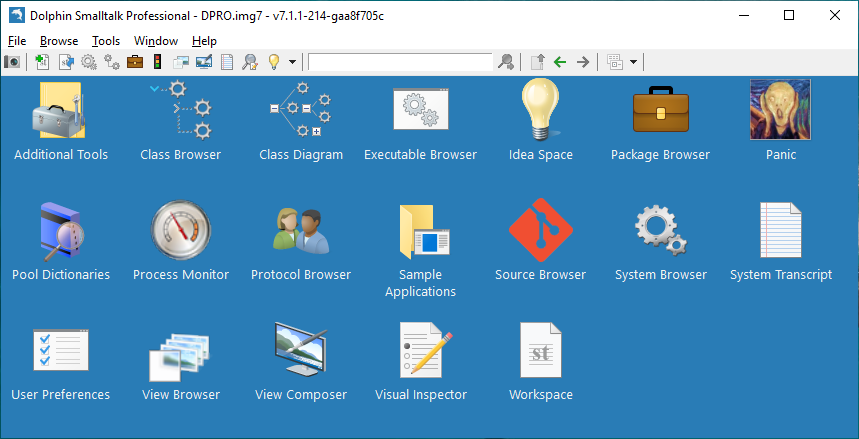
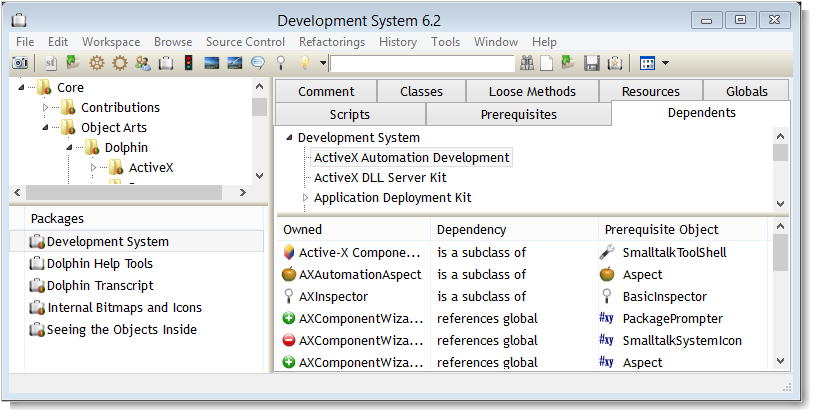
# Getting Started Dolphin can be installed in one of two forms. If you want to use it to program your own projects or just to learn Smalltalk, the [Windows setup installer](https://github.com/dolphinsmalltalk/Dolphin/releases) provides a direct installation and is probably what you'll need. Alternatively, if you want to contribute to the core development of Dolphin you'll want to clone the source from [GitHub](https://github.com/dolphinsmalltalk) and go from there. Either way you'll end up with: * A directory containing the core system files such as the Dolphin executable and the virtual machine. * A separate **Image** file that will, in effect, be your workspace. Double-clicking this file will launch Dolphin and present you with the development tools that are a window onto the world of objects the image contains. If you choose to go the _build-from-source_ route then break off now and follow the instructions on how to [build the image file](https://github.com/dolphinsmalltalk/Dolphin/blob/master/README.md) from the GitHub components. Come back here when you are able to launch the image and can see the **Dolphin System Folder** on screen as below:  # First Image The first image that Dolphin makes available to you, and therefore the one you should have open now, is called **DPRO.img7**. The _DPRO_ indicates that it a _Dolphin Professional_ edition so it contains all of the tools that were previously only available in the commercial product. Other starting images may be available (_DCORE_ and _DCE_) but these aren’t what you want at this stage. The image is the space where you do all your work. Using the various tools you can load in projects, launch and debug your applications and edit code. At anytime, even in the middle of a debugging session, you can take a snapshot of your image and can later restore this by double-clicking the image file just as you did before. Working with the image is one of the unique things about programming in Smalltalk. When you start, you are making changes to the default **DPRO.img7** image that came with the Dolphin setup. Because this is really a part of the installation, the best thing is to save the image to a different filename before doing anything else. Choose _File/Save Image as_ in the **System Folder** and call it something like **My Starting Image.img7**. Now, if you ever want to get back to a fresh start you can do so easily - just by opening **DPRO.img** again. # Dolphin Workflow There are a number of ways you can choose to work with Dolphin (workflows) and the one presented here is just for guidance. Once you have gained a little experience working with the Dolphin image, feel free to change your working practice to one you feel most comfortable with. We'll keep this short, so you can get on with a real tutorial shortly, but here is an easy way to start with Dolphin. * Work with one image per project and one project per directory. You can choose to break this rule later but it's easiest to do this when you getting started. Let's say, you're going to follow the "Better Hello World" tutorial that follows. Save your starting image as **Better Hello World.img7** in a new folder of the same name. * Your image already contains a number of packages provided by the system. Open the **Package Browser** now to see them. You'll add further packages as you write your own code. The Package Browser gives you the option of saving packages out to disk and loading them from it. You can then use an external source code versioning system like _Git_ to keep track of changes if you wish.  # Hello Smalltalk Originally Dolphin shipped with a very simple **Hello World** example, which is still present in **Samples** within the System Folder. However, this takes you through very little of the UI framework and the Smalltalk approach. Dolphin Smalltalk was one of the first (if not _the_ first) programming tools to introduce [Model View Presenter](https://en.wikipedia.org/wiki/Model–view–presenter) for user interface design. Some time ago we created a couple of video tutorials for a _Better Hello World_ and we recommend that you follow these for your first 30 minute introduction into the world Dolphin Smalltalk programming.
A Better Hello World
Why Model View Presenter?
# Where to Next?

Once you’ve completed your first _Hello World_ experience with Dolphin you may be ready for something a little more advanced. Why not check out
our [Lights Out Game](http://object-arts.com/blog/files/lights-out-game.html) tutorial that takes you through the creation of a simple game
still based within the MVP paradigm. Wherever you go from here, **Have Fun** and **Good Luck** in your further adventures with Dolphin Smalltalk!
